Table of Contents
Your computer can have several printers connected to it, either directly or over a network. See your Windows user documentation for information on installing printers.Setting up printers for PACKMAN involves choosing a printer to use for each printing task and specifying the stationery to use. The table below lists the printing activities and the Workstation Setup screen tabs where they are found.
| Printing Activity | Workstation Setup Tab |
|---|---|
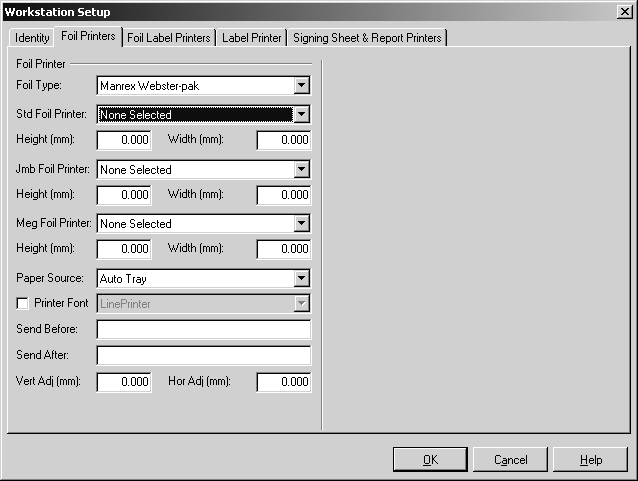
| Foils | Foil Printers |
| Foil Labels | Foil Label Printers |
| 7 Day Unit Dose | Foil Label Printers |
| Labels | Label Printer |
| Signing sheets | Signing Sheet & Report Printers |
| Reports | Signing Sheet & Report Printers |
Setting Up Printers #
-
To set up your printers:
- From the Options menu, choose Workstation Setup.The Workstation Setup screen is displayed.
- Select the appropriate Printers tab.
- Where specified, select the Foil Type.
- Select the printer from the Printer drop-down list for each printing task. For common printing tasks such as foils and signing sheets it is best to choose a printer that is attached to your computer rather than a network printer
- For faster printing on dot matrix printers, select the Printer Fonts check box.The fonts listed depend on the printer selected
- To print upside down (e.g. for easier reading on label printers that feed the paper out the front), select the Invert check box.
- To specify the number of lines to advance or reverse paper feed, type the printer codes into the Send Before and Send After boxes .
- Choose OK.

Before you can set up your printers in PACKMAN, they must be installed through Windows.
If you are running PACKMAN on Windows 2000, you will
need to set up your printers in the Windows Printer folder and
create a form for each print

You can reduce printers and save space by sharing printers between several computers for less frequently used printing tasks such as reports.
Send Before and Send After Boxes
Use these boxes to set optional codes to send to the printer before and after the print job.
For example:
These codes are comma-delimited strings of ASCII values and differ between printer models. Consult your printer manual if you need to set or change them.
TrueType Fonts and Printer Fonts
Some of the standard label formats are provided in both TrueType font and printer font versions. This font information is included in the label format description.TrueType is a digital font format which offers the highest possible quality onscreen and when printed. If you are using a thermal printer, a laser printer, or a fast dot matrix or inkjet printer, you should probably choose TrueType label formats. You will get good quality printing with these, and the label preview on the PACKMAN work area will accurately reflect the printed output. However, TrueType fonts are printed as graphics so these label formats may be slow on some printers.Printer fonts vary depending on the printer you are using, although some are semi-standard. They are often faster to print
than TrueType fonts on dot matrix, inkjet and bubblejet printers because they are handled directly by the printer. However, if you choose a printer font label format, the label preview on the PACKMAN work area will be only an approximation of what will actually be printed.


