Table of Contents
- Within the ‘End of Day’ screen, select ‘Options’ > ‘Set Options’ (as shown in Figure 1.17.19).
- The ‘End of Day Options’ screen will be displayed (as shown in Figure 1.17.20). This allows you to choose the information that is to be included in the end of day and History reports and may be changed at any time.
- Once you have selected the options you require, select the ‘Ok’ button.
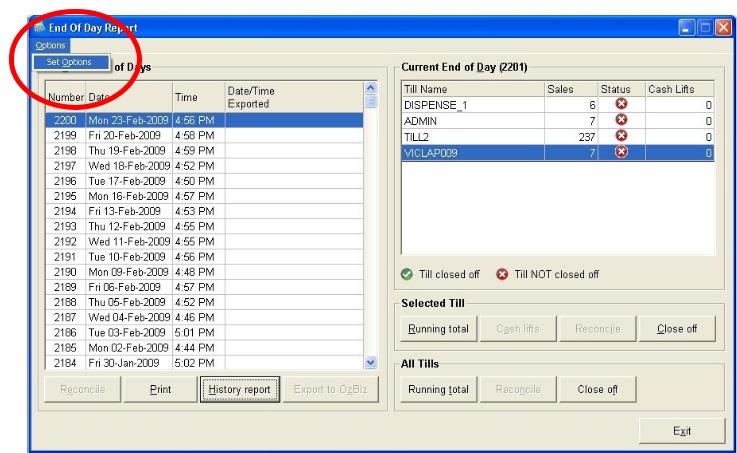
Figure 1.17.19
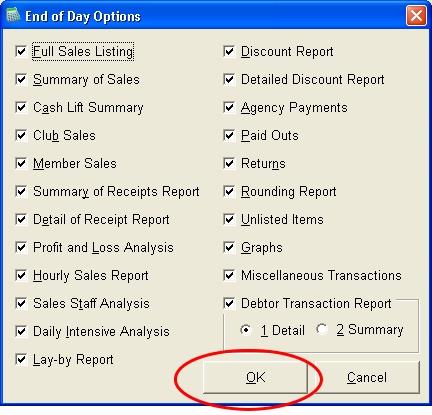
Figure 1.17.20
Note: These options have to be set up on each individual POS computer. It is always a good idea to have each till showing the same options for printing.
Handy Hint! #
Did you know that you can also change these options when you have an end of day report open? You can do this from your open report via File Set Options (as shown in Figure 1.17.21).
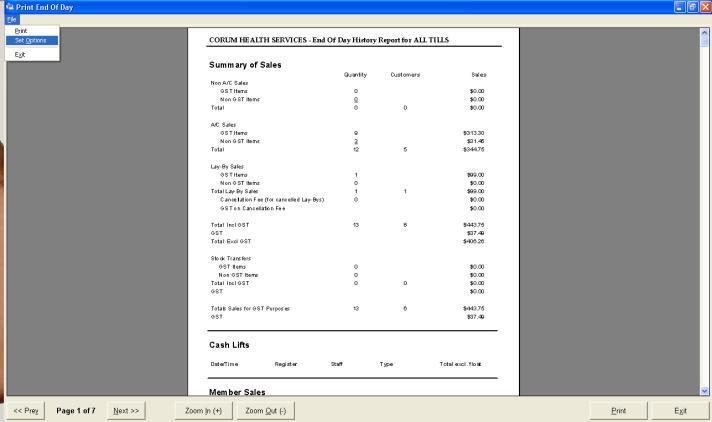
Figure 1.17.21
Once you have made your changes, your open report will be updated straight away without you having to generate the report again.


