- From the LOTS Start Menu select ‘Sales’.
- From the Sales screen select ‘Lay-By’ (see Figure 1.14.25).
- This will display the ‘Lay-By’ screen. Enter the ‘Customers’ name or the ‘Lay-By No’ to retrieve the Lay-By (see Figure 1.14.26).
- Once the correct Lay-By is displayed (see Figure 1.15.26) select ‘Cancel Lay-By’. This will bring up the ‘Verify User’ window; if necessary enter in your Staff ID and your password, and then select ‘OK’.
- After selecting ‘OK’ a ‘Cancel Lay-By’ window will be displayed. You will need to enter in a ‘Reason for cancelling’ and the ‘Refund amount’. Select ‘OK’ (see Figure 1.14.27).
Note: The ‘Refund amount’ is the total of any payments made by the customer,
excluding the deposit. By default, the deposit is excluded from the ‘Refund amount’ as a cancellation fee. However the ‘Refund amount’ can be changed at the time of cancelling the Lay-By, to include the deposit as the total amount refunded. - After selecting ‘OK’, a confirmation message will be shown (see Figure 1.14.28), select ‘OK’.
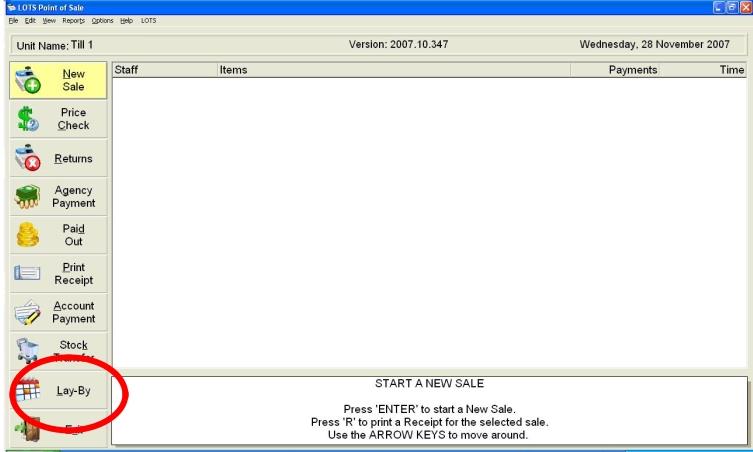
Figure 1.14.25
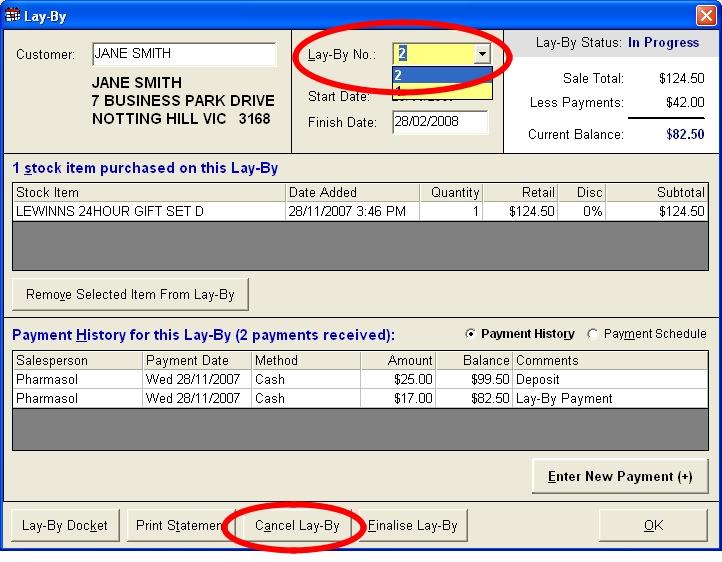
Figure 1.14.26
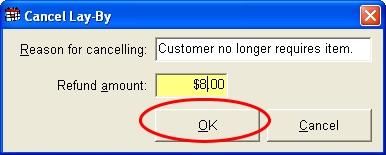
Figure 1.14.27
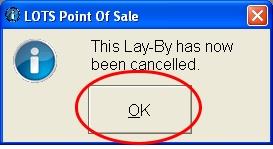
Figure 1.14.28


