Table of Contents
Loading the program #
Load the install disk on the computer using the instructions that come with the Installation Disk. If you get an error message while installing call support on 1800 028 133
Starting Packman #
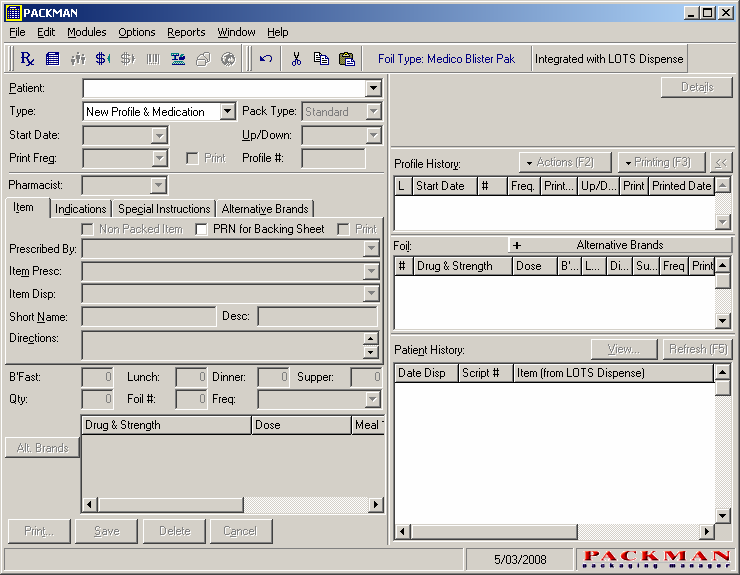
Double click on the Packman icon on the desktop and the program will open.
packman.Ink
1.2.1 Setting Options #
Click on “Options” and select “Workstation Setup”
Workstation Set-up #
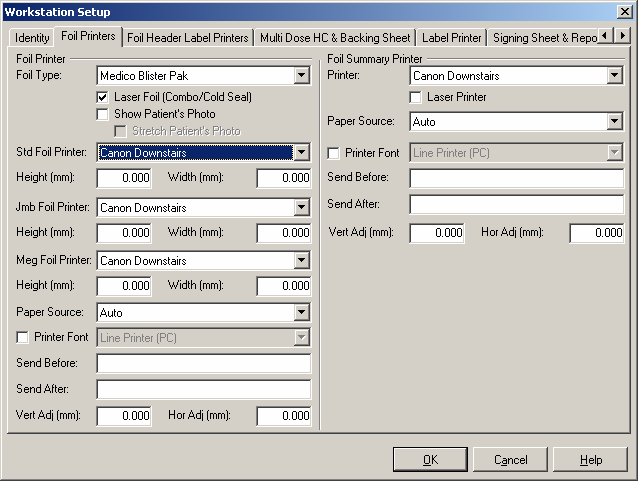
Select the foil type “Medico Blister Pak”
For each printer click on the (down Arrow) and select the correct printer.
Go to Foil Header Label Printers Tab, and select (CD7 Standard [8 lpi], TrueType Fonts) for stationery.
Go to Label Printer Tab, and select (CD7 Standard [8 lpi], TrueType Fonts) for stationery.
Go to Signing Sheet and Report Printers Tab and select “Medico Signing Sheet” in the “Signing Sheet Type” window.
Select your report printer for Signing Sheet Printer and Report Printer.
When you have finished click OK to save changes.
Module Set-up #
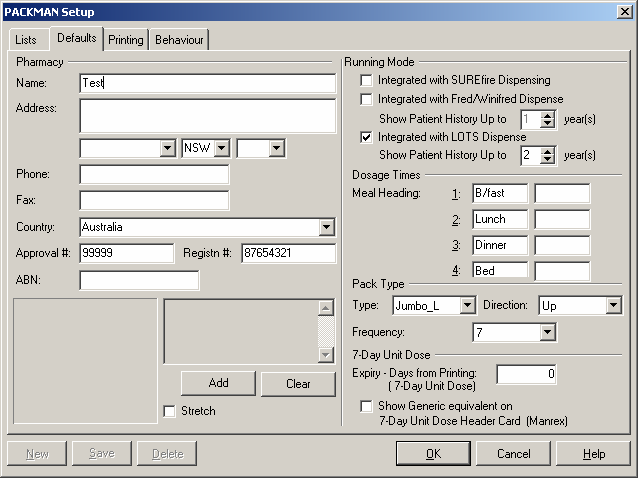
Make sure that “Integrated with LOTS Dispense” is ticked and select 2 years of patient history.
Set up dosage times with the first dose of then day at the top.
For “Pack Type” select “Jumbo_L” the “Direction” to “UP” and “frequency” to “7” Days.
Click on the Printing Tab, and tick “Foils”.
Click on the Behaviour Tab and tick “New Format – Product Code: 38022”.
Click “OK” and select “Options” “System Set-up.
System Set-up #
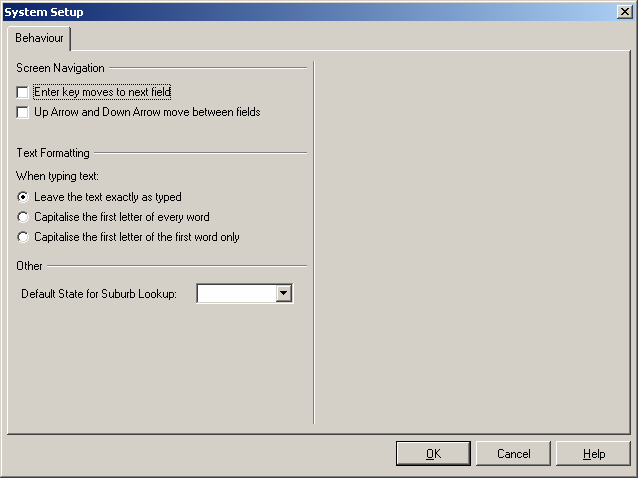
And select if you want to use “Enter” or “Up and down arrow” to move between fields. Note that you can use the “Tab” key to move between fields as well.


