LOTS allows you to edit Shelf Labels before they are printed to save wasting label stationery.The labels can be viewed, and/or deleted directly in the print queue before they are printed.
To edit your shelf labels:
- From the LOTS Start, select ‘Tools’ (as shown in Figure 2.5.1).
- Select ‘Utilities’.
- Select ‘Stock Utilities’.
- Select ‘Print Shelf Labels’ (as shown in Figure 2.5.2).
- Your print label queue will now display (as shown on next page).
- To edit the labels, select the ‘Edit’ menu at the top of the screen (as shown in Figure 2.5.3).
- The available options from this menu are:
- Insert [Ins] – which inserts shelf labels directly into your shelf label queue;
- Delete [Del] – which deletes labels from the queue;
- Select All [Ctrl+A] – this selects all of the labels in the queue to either delete or print; and
- Find [Ctrl+F] – to find a particular item’s listing in the queue.
- By selecting the ‘Insert’ option, this will display the ‘Add to Shelf Label Queue’ screen (as shown in Figure 2.5.4).
- Enter in an item description or a barcode to search for a particular item. Select ‘OK’
- The ‘Select An Item’ screen will display (as shown in Figure 2.5.5).
- By selecting the required item(s) and pressing the ‘Add/Remove’ button this will add the item to the shelf label queue
- Once you have selected an item to add to the shelf label queue it will be displayed in the ‘x item(s) in List’ tab. The number of items that have been added to the tab will reflect in the name of it (as shown in Figure 2.5.6).
- Alternatively, if you wish to remove shelf labels that are no longer required then, from the ‘Search’ tab, highlight the unnecessary label.
- Press the ‘Add/Remove’ button and the item will be removed from the queue. You will notice that the title of the ‘x item(s) in List’ tab will decrease by one to illustrate that the label has been removed
- By pressing the ‘Clear List’ button located (next to the ‘Add / Remove’ button) this will also clear the shelf label list in the ‘x item(s) in List’ tab.
- Select the ‘OK’ button to return to the ‘Shelf Label Queue’ screen.Handy Hint!When you ‘Insert’ items into the shelf label queue they are automatically placed at the bottom of the list.
- The second option in the ‘File’ menu is the ‘Delete’ option. This option deletes shelf labels that are no longer required in the queue (as shown in Figure 2.5.9).
- This can also be utilised by pressing the Delete button on the keyboard.
- Highlight the shelf label that you wish to remove from the queue and select the ‘Delete’ button on the keyboard or ‘File’ > ‘Delete’ from the menu.
Handy Hint!Holding down the control or shift keys whilst selecting the items with the mouse, then selecting the ‘Delete’ button allows you to remove multiple items from the shelf label queue quickly. - The third option in the ‘File’ menu is the ‘Select All’ option.
- When using the ‘Select All’ option all items listed in the shelf label queue will be highlighted (as shown in Figure 2.5.10).
- This is useful if you want to print all items in the shelf queue (Select All Print Selected Labels) or delete all items in the queue (Select All Delete).
- The last option in the ‘File’ menu is the ‘Find’ option
- Select ‘Find’ and the ‘Find Product in Shelf Label Queue’ screen will display (as shown in Figure 2.5.11).
- Enter in the Description, PLU or Barcode of the product that you wish to search for (as shown in Figure 2.5.11).
- Select the ‘OK’ button to begin the search.
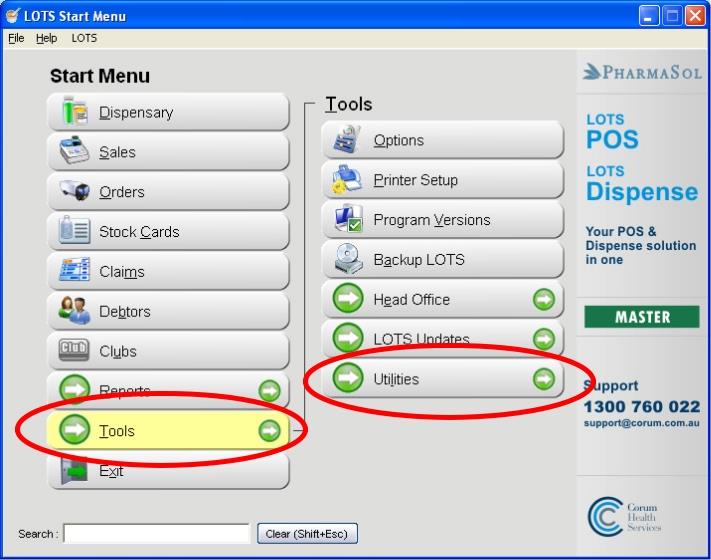
Figure 2.5.1
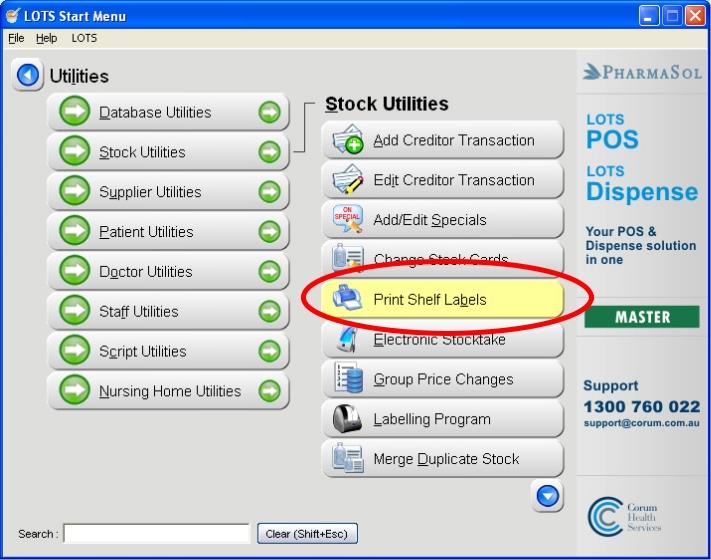
Figure 2.5.2
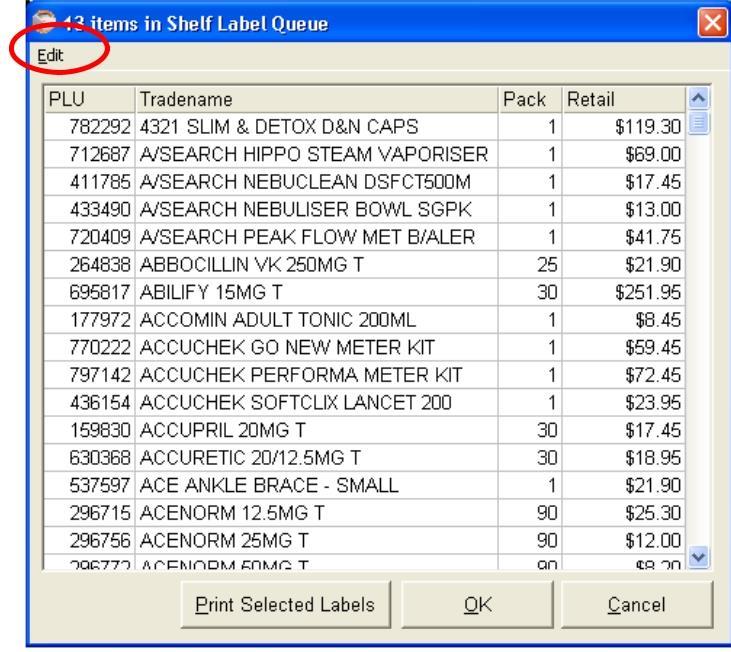
Figure 2.5.3
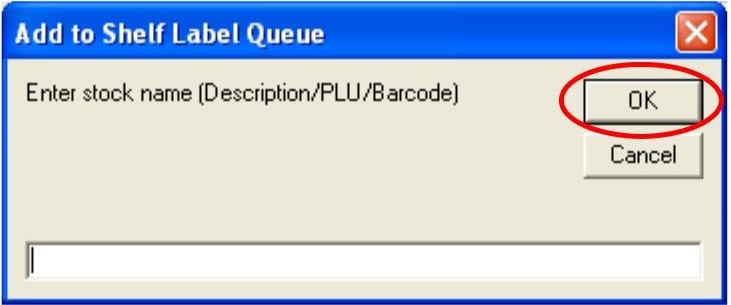
Figure 2.5.4
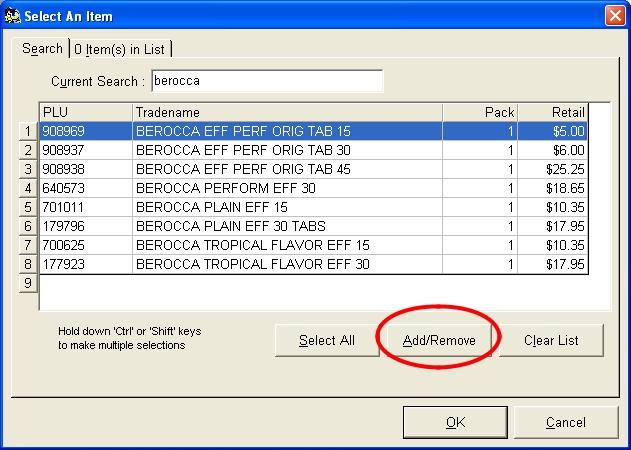
Figure 2.5.5
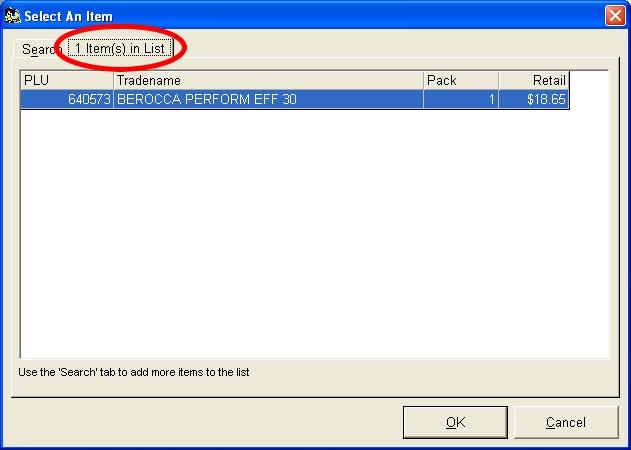
Figure 2.5.6
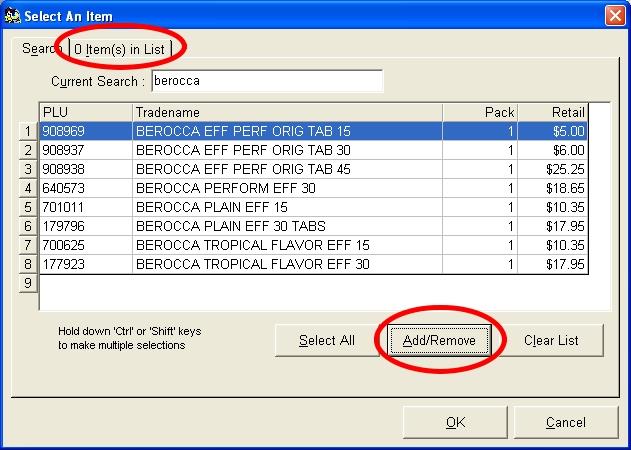
Figure 2.5.7
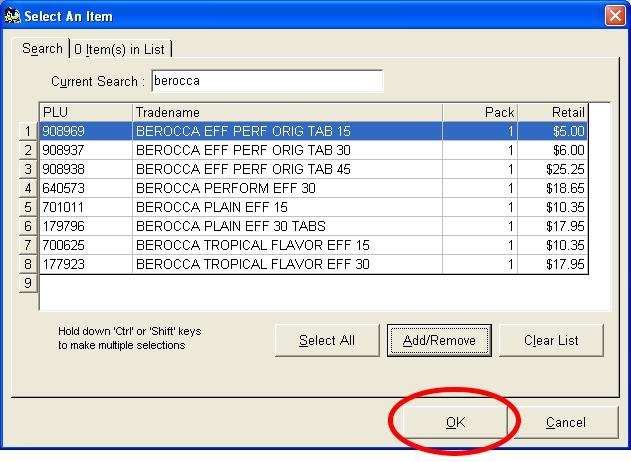
Figure 2.5.8
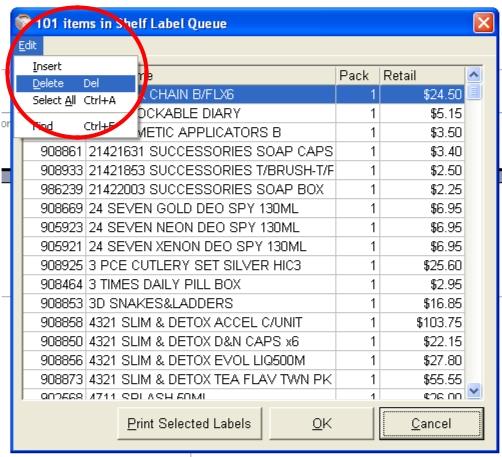
Figure 2.5.9
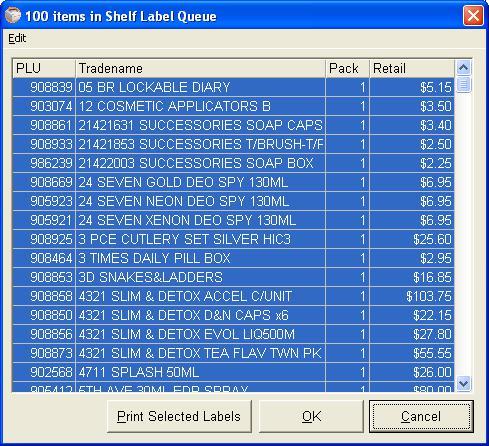
Figure 2.5.10
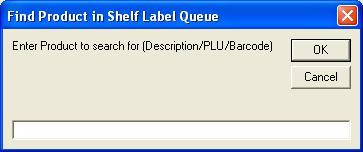
Figure 2.5.11


