- To transfer stock between pharmacies, select the ‘Stock Transfer’ option (as shown in Figure 1.13.1).
- The ‘Verify User’ screen will appear (as shown in Figure 1.13.2).
- Key in your staff ID and select ‘OK’ to proceed.
- The ‘Stock Transfer’ screen will appear (as shown in Figure 1.13.3).
- Identify the name of the account customer (they should be set up in the ‘Debtors’ module). LOTS will then display details of their address and current balance (as shown in Figure 1.13.3).
- You are then required to key in the stock items to be transferred and corresponding quantities (as shown in Figure 1.13.4).
- To complete the transaction you simply need to press the ‘Finish’ key and an Invoice will print out automatically.
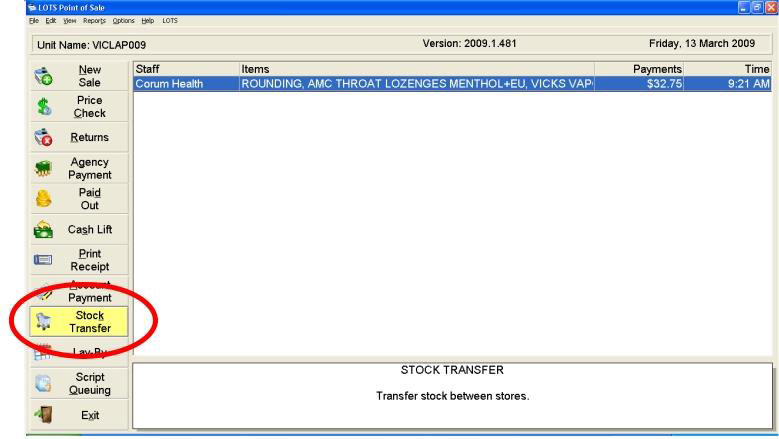
Figure 1.13.1
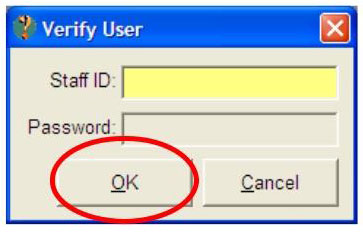
Figure 1.13.2

Figure 1.13.3
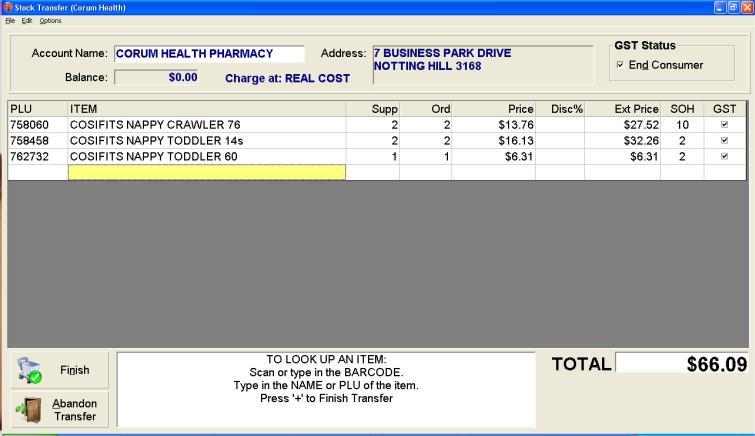
Figure 1.13.4
Note: Initially you have to set up the Charge Options for the account class that you are transferring to. This has to be set up only once unless you wish to amend these charges. To do this, in the Stock Transfer screen select File > Charge Options. Choose the particular Account Class that you wish to charge (as shown in Figure 1.13.5). You can select the prices to be charged, being Retail, List Cost or Real Cost.
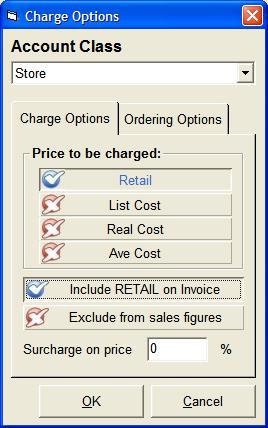
Figure 1.13.5
There are other options In the ‘Charge Options’ tab to ‘Include Retail on Invoice’, and ‘Exclude from sales figures’. Simply select the option to apply that change to the Class. Another option is to include a surcharge on the price being charged.


