In LOTS, you are able to copy the complete contents of any nominated stock card to create a new stock card.
To copy a Stock Card:
- From the LOTS Main Menu, select ‘Stock Cards’ menu button (as shown in Figure 2.3.1).
- You will be prompted to enter in your Staff ID (as shown in Figure 2.3.2).
- Key in your staff ID and password.
- Select ‘OK’ to proceed.
- The ‘Stock Search’ prompt will display (as shown in Figure 2.3.3).
- Scan the item, key in the PLU/PDE of the item or key in part of the description.
- Once you have entered in the item that you would like, select the ‘OK’ button.
- A list of items will be displayed for you to select your desired item from (as shown in Figure 2.3.4).
- Select the item you wish to access by highlighting it and select the ‘OK’ button.
- The items stock card information will be displayed on the screen (as shown in Figure 2.3.5).
- Select the ‘File’ menu at the top left hand side of your screen.
- Select ‘Copy Stock Card’ (as shown in Figure 2.3.6).
- A screen will be displayed informing you that the stock item has been copied (as shown in Figure 2.3.7).
- Select the ‘OK’ button to continue.
- Once you have selected ‘OK’, your newly created stock card will be displayed on the screen (as shown in Figure 2.3.8).
- Ensure that when you are entering in the new product name, you remove the word ‘copy’ from the description.
- Enter in your stock card details. Ensure that you update the PLU number, the suppliers and their corresponding part codes (as shown in Figure 2.3.9).
- Once you have finished, select the ‘Save’ menu button to continue and save the new stock card.
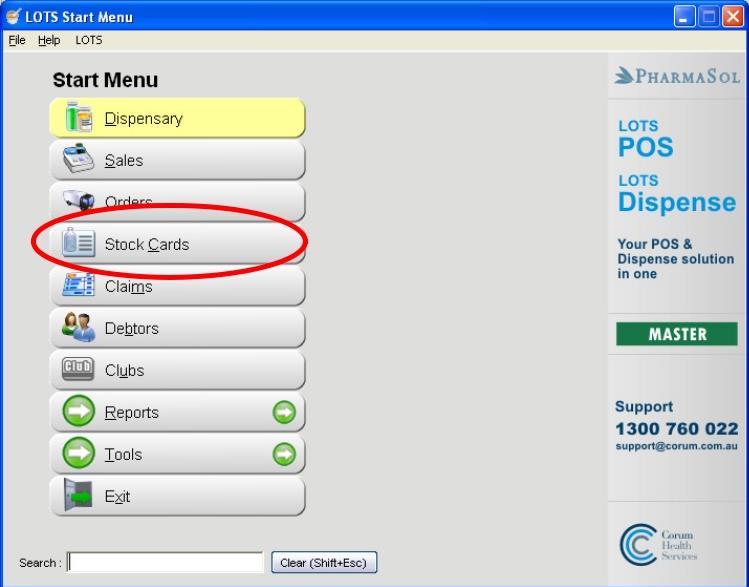
Figure 2.3.1

Figure 2.3.2
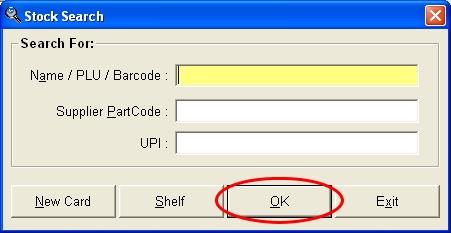
Figure 2.3.3
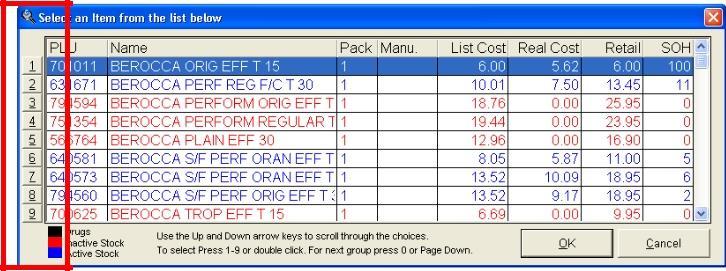
Figure 2.3.4
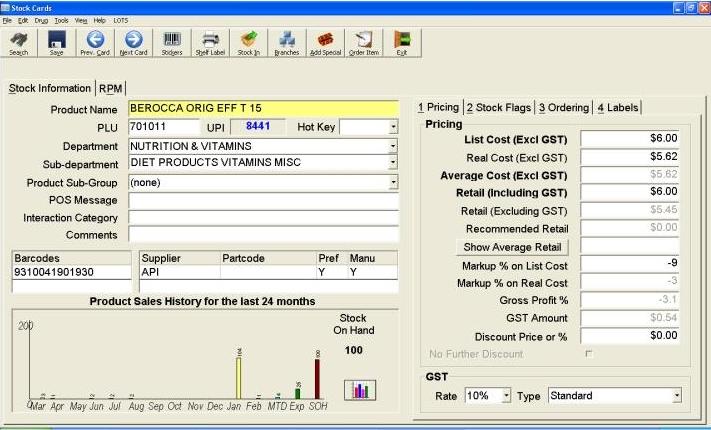
Figure 2.3.5
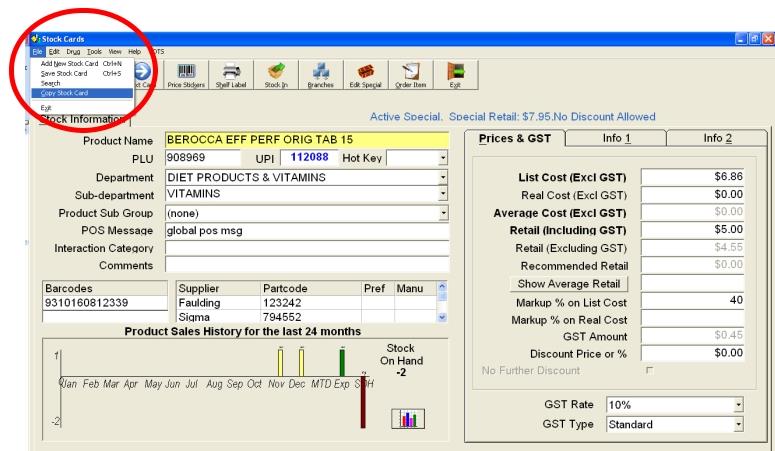
Figure 2.3.6
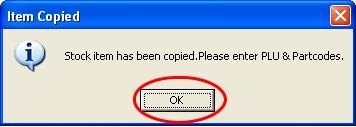
Figure 2.3.7
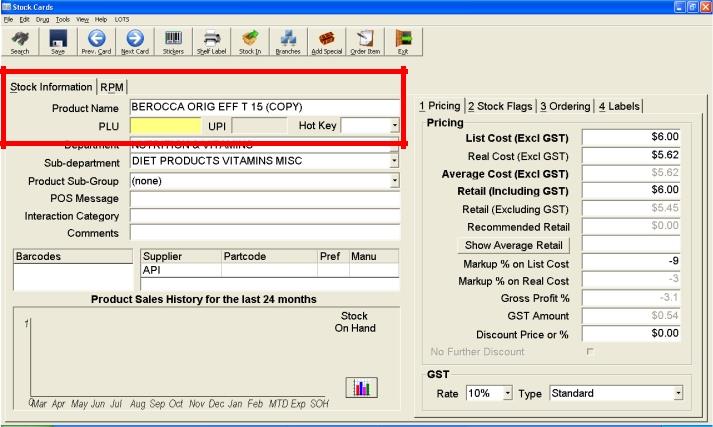
Figure 2.3.8
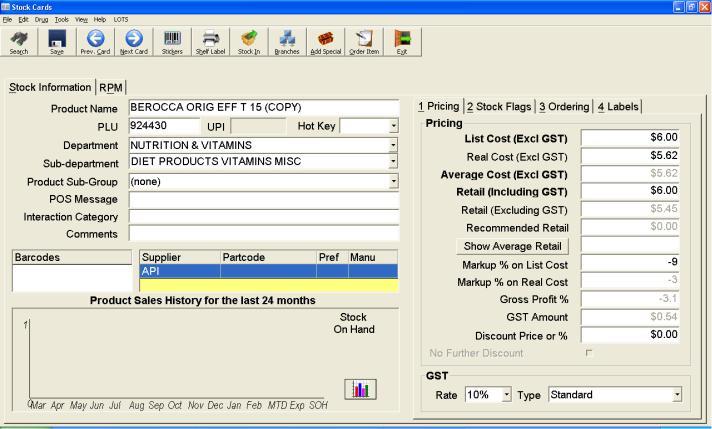
Figure 2.3.9


