- To place a sale on a customers account simply press the [F6] function key, type in the account customer by name and press [Enter] (as shown in Figure 1.12.1).
- The ‘Search for Person’ screen will appear, select the correct customer from the search list (as shown in Figure 1.12. 2), and press the ‘Ok’ button to continue
Note: Primary account customers are displayed in dark blue text and Linked account customers are displayed in light blue text. - To finish the sale and charge it to the customers account select the [+] key.
- A screen will appear with the prompt ‘This customer has an account. Do you want to charge this sale to their account?’ Select either ‘Yes’ or ‘No’ to apply changes (as shown in Figure 1.12.3).

Figure 1.12.1
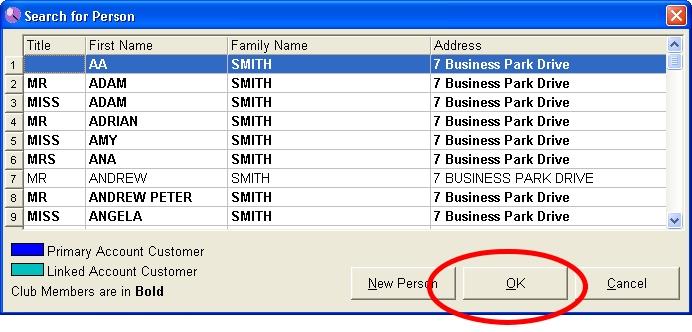
Figure 1.12.2
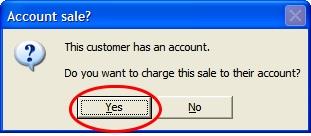
Figure 1.12.3
Note: By selecting ‘No’ you can continue the sale as normal and it will not be an account sale (as shown in Figure.1.12.4).
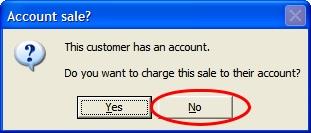
Figure 1.12.4
- If ‘Yes’ is selected, the ‘Customer Account’ screen will appear. This will confirm whether the sale should be charged to the allocated customers account and also display the customer’s current account balance (as shown in Figure 1.12.5).
- Select the ‘Ok’ button, after which you will be returned to the LOTS ‘Point of Sale’ screen and two dockets will
be printed out, one for the customer and one for your records.

Figure 1.12.5
Note: Alternatively, you can press the [F7] function key to automatically place the sale on the customers account.


