
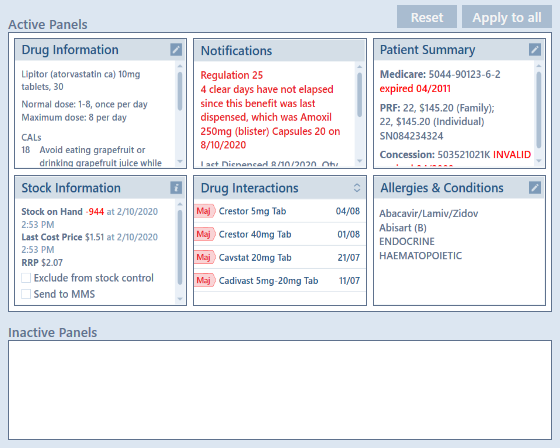
The reference panels above Patient History are configurable. You can choose which panels are shown, as well as their location and size.
Configuring the Reference Panels
To hide, unhide, resize or rearrange the panels shown above Patient History in the Reference Space:
1. From the main menu, choose Pharmacy → Pharmacy Settings.
The Pharmacy Settings screen is displayed.
2. Select the Appearances tab.
3. Use the mouse to adjust the panels:
- To hide a panel, drag it from Active Panels to Inactive Panels.
If a panel remains in the same column it automatically increases in height.
- To show (unhide) a panel, drag it from Inactive Panels to Active Panels.
If you drag it to an empty column, it is set to full height.
If you drag it to a column that already has a full height panel, they both become half height.If you drag it on top of an existing half‑height panel, the panels change places.
- To increase the height of a panel, drag the other panel in the same column to a new location, or to Inactive Panels.
- To decrease the height of a panel, drag another panel into the same column.
- To rearrange the panels, drag them to the required locations.
When dragging a half‑height or full‑height panel onto another panel of the same size, they change places.
Otherwise, the panel heights in the affected columns are adjusted.
- To reset the panels to the Corum Clear Dispense default, choose Reset.
4. When you are happy with your reference panel layout, choose OK to save your settings and return to the main Dispense screen.
NOTE
The Drug Interactions and Patient Summary panels are mandatory and cannot be hidden.
For Script Check, where all the scripts in a batch are checked for interactions simultaneously, the Drug Interactions panel becomes double height, hiding whatever panel is in the same column (unless it’s Patient Summary).